by Winding Pathways | Mar 5, 2015 | (Sub)Urban Homesteading, Foraging, Nature, Trees/Shrubs

Waiting for a drop of sap.
Maple syruping is captivating. Perhaps because the process is fascinating, it’s one of the first signs of spring or it conjures up childhood memories reading books about syruping or seeing old Currier and Ives prints of Native Americans or hearty pioneers sugaring off.
Alhough it’s a historic process, tapping trees and making syrup is a fun family activity and a great way to pique childhood curiosity about history and science. Syruping is a blend of botany, weather, science, history and all topped off with delicious eating.
Native Americans invented maple syruping long ago. Before honeybees were imported from Europe and sugar became a trade item maple syrup was THE ONLY sweetener they had. Typically Native Americans made maple sugar by slicing the bark of trees in late winter, catching what sap they could in bark or wooden containers and boiling the sap in large, hollowed out wooden containers by dropping fire-heated rocks into the liquid. They used this cumbersome method because until Europeans arrived they didn’t have metal. Syruping was plenty of work.
When Europeans settled along the Atlantic coast they quickly developed a taste for maple and supplied Natives with metal buckets, pans, axes and spiles that enabled them and European settlers to make syrup efficiently. It was the main American sweetener until a cane sugar tariff was lifted in the late 1800’s. Today maple syrup is a delicious, but expensive, luxury.
Modern producers use plastic tubes to channel sap from their sugarbush (maple grove) to their sugarhouse, where it’s processed into syrup by eliminating water in ultra-modern reverse osmosis machines followed by some boiling. It’s an efficient, but not nostalgic, process.
Making syrup from a backyard tree using old methods is fascinating fun. It’s now late winter. Soon days will be above freezing and sap will flow. Syruping season is upon us. Assuming there’s a maple tree in the yard most families have many of the items they need to make a small batch of syrup. Here’s how:
What you need: It’s simple. You need a maple tree or two of any species. Sugar, black, silver, red and European maples produce sweet sap. Even common box elders, which are true maples in disguise, yield sap that makes delicious syrup. The tree needs to be at least 10” in diameter but bigger ones are better. Other needs are:
• A drill and bit to create a 7/16th or ½ inch diameter hole three inches deep into the tree.
• A homemade or purchased spout, or “spile” as it’s called in syruping country.
• A container to catch sap. Plastic milk jugs work!
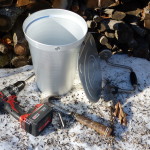
• A container to collect and store sap.
• A way to boil off about 40 gallons of water to make one gallon of syrup.
Where can syrup be made: Although New England, Canada and the Lake States are traditional syruping regions it can be made anywhere maples grow and the right weather conditions occur. Syruping is possible from Alabama to North Dakota, east to the Atlantic, and even from street trees in western towns.
When are trees tapped: Maples drip sap only when nights are below freezing followed by daytime temperatures above 32 degrees. Ideal conditions are several days in a row with clear, cold frosty nights followed by sunny warm days. Traditionally syruping starts around March first in the north but can be earlier down south. The season ends when sap stops dripping as night temperatures remain above freezing. The sap flow can be as short as four or five days or as long as six weeks. It all depends on the weather.
How to tap a tree: In late winter, just before warm days are expected, gather a drill, bucket and child and tap your backyard tree. If done properly it does no harm to the tree. A young 10” diameter maple is good for just one tap, but a 30” diameter veteran can support up to three taps. Use either an electric drill or be traditional and use a carpenter’s brace and bit. Drill at a slight upward angle two to three inches into the tree. A short piece of wire can be bent into a hook to drag wood chips out of the hole. Tap in the spout, or spile, and attach the bucket or milk jug to catch sap. If the weather is perfect sap will flow as soon as the drill passes through the bark.
Spiles and collection supplies can be purchased but here’s how to make your own:
Step One: Find a patch of sumac. These common shrubs often grow along roads. Cut off a three foot section about a half inch in diameter with pruning shears. Then cut it into pieces about four inches long. Sumac has thick soft pith. Either poke it out with a piece of stiff wire or drill it out to create a tube. Taper the end that will go into the hole in the tree by whittling with a pocket knife. Gently tap your spile into the hole.
Step Two: Use the pocket knife to cut a small hole in the neck of a clean gallon milk jug just above the handle. Slip the hole over the end of the spile. If you’ve done it right the jug will stay in place and is strong enough to hold a gallon of sap without pulling out of the tree.
If the weather’s right the jug will fill in just a couple of hours. Empty the sap into a storage container. It’s best to begin boiling right away but cold sap will keep a few days. But, there are other uses for maple sap than boiling into syrup. Fill a teacup with boiling sap instead of water and add a tea bag. The delicious beverage will have a hint of maple flavor. Some people drink sap as a spring tonic.
Step Three: Now comes processing. Nothing is added to sap to create syrup but about 40 parts of water must be evaporated to make one part syrup. It can be boiled in a saucepan over the kitchen stove, but that puts lots of sticky steam into the house. Boiling is best done outdoors over a wood fire or propane burner. Large shallow pans help speed boiling. Boil for several hours. The syrup is ready to eat when:
• It is golden colored with delicious sweetness.
• It slowly dribbles off a spoon dunked in hot syrup and suspended over the pan.
• It boils at seven degrees Fahrenheit hotter than boiling water.
Serious sugarmakers use more precise ways to tell when their syrup is done but these simple tests work for a small quantity. Finished syrup has sediment at the bottom of the container that looks like fine sand. It’s mostly calcium that’s perfectly fine to eat, but it can be filtered through cheese cloth to remove it. Refrigerate your precious syrup to prevent spoilage.
Commonly asked syruping questions:
Q. Will it hurt the tree? A. Only if the tree is overtapped. Only drill one hole in a 10” diameter tree. Up to three or four taps are fine in a massive maple.
Q. Do I plug the hole in the tree at the end of the season? A. Nope. Just pull out the spile. The tree will heal itself.
Q. How much syrup will one small tree with one tap produce? A. It all depends on the weather. During a long season a small tree could yield up to a half gallon of syrup, but during a short season it might yield only a cup or two. The long term average is about one quart of syrup per tap.
Sources of Syruping Equipment and Information
Simply Google Maple Syruping and the computer’s screen will be filled with places to buy equipment and information on how to tap trees and make syrup. One of our favorite sites is Tap My Trees.
Winding Pathways urges people to go outside and have fun. Few backyard activities are as fun as making a batch of maple syrup from your own tree.
by Winding Pathways | Feb 1, 2016 | (Sub)Urban Homesteading, Foraging, Nature, Trees/Shrubs
Preparing for the season’s first food harvest is a fun way to spend a few hours during winter’s deep freeze. Cornell University Cooperative and New York’s DNR have an excellent PDF “Maple Syrup Production for the Beginner.” Wikipedia features a comprehensive overview of syruping.
Trees of many maple species will flow sweet sap as soon as daytime temperatures rise into the high 30s while nights drop below the freezing point. That can happen in early February down South and six weeks later in Canada.
Syruping is fun, educational and a wonderful activity to share with children. It can be done far beyond the classic syruping regions of New England, Canada and the Lake States. We’ve been in touch with families from North Dakota to North Carolina who make maple syrup. We’ve made gallons in Iowa. All it takes is a tree or two of any maple species, the right weather and simple tools. When done properly, it doesn’t hurt the tree. Silver, sugar, black, and red maples all run sweet sap. So does the box elder, which is a true maple.
You’ll find past blogs on Winding Pathways that show how to make simple syruping equipment. Type maple syruping in the search box at the bottom of the screen or click on this link. Almost everyone already has everything needed to make small quantities of syrup, but it’s easier and a bit more sanitary to use manufactured equipment.
Many companies sell syruping equipment, but most are geared to supply large commercial operations. Tap My Trees is different. They sell easy-to-use equipment to folks wanting to tap a few backyard trees. Their website also includes helpful information on how to tap trees, collect sap, and boil it into syrup. Check it out!
-
-
Clear sap dripping into the bucket.
-

-
A clean milk jug makes a simple “bucket” to collect sap.
-

-
Carrying “modern buckets” on a yoke.
-
-
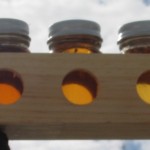
Maple Syrup’s taste is stronger with a deeper amber.
-
-
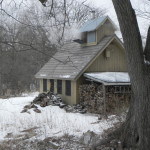
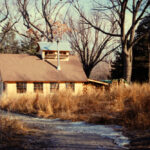
A traditional sugar shack
-
-
Modern equipment make backyard syruping easy and pleasurable.
by Winding Pathways | Mar 9, 2023 | Foraging, Geology/Weather, Maple Syruping
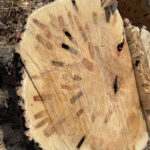
A slice of history.
Scars in a tree at the Indian Creek Nature Center reveal maple syruping history.
Back in 1979 Rich Patterson and volunteers approached a husky Box Elder tree, armed with a drill, spile, and buckets. It was early March. Nights were cold and frosty, followed by warm sunny days. Syrupin’ weather.
Oozing Out the Sap
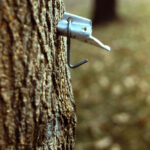
As soon as the drill’s bit cut through the tree’s bark, clear watery sap oozed out.
Rich gently tapped in a metal spile and hung a bucket under it. By day’s end, two gallons of clear sap nearly filled the pail ready to be boiled into syrup.
-
-
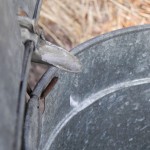
The spile angles slightly downward.
-

-
Visitors and plastic bag on tree
If not overdone tapping just harvests a small percentage of a tree’s sap. It’s sort of like a person giving blood. Taking a little does no harm. Healthy trees quickly create a scab over the tap hole, somewhat like a human body heals a scratch. As the tree grows and its trunk diameter swells, wood forms over the old tap hole. It’s fine to tap that tree again next year, the year after, and every following year.
Syruping season ends when night temperatures don’t drop below freezing. That’s when spiles are pulled, leaving the hole for the tree to heal.
Aging Out of Production
That’s what happened to the Nature Center’s tree. Box Elders are true maples capable of producing sap for quality syrup, but they are short-lived. An 80-year-old Box Elder is, well, elder and near life’s end. After being tapped for 40 years in a row the Nature Center’s box elder reached the end of its days converting solar energy into sugar. After its death staff felled it, revealing at least 30 tap scars. The oldest ones are closest to the center of the tree’s trunk.
Syruping is a fun late winter activity. To learn more visit the Indian Creek Nature Center during syruping season. It holds a fun Maple Syrup Festival in late March each year. For details check out Indian Creek Nature Center’s website.
Thanks, box elder for sharing some of your sap all these years.
-
-
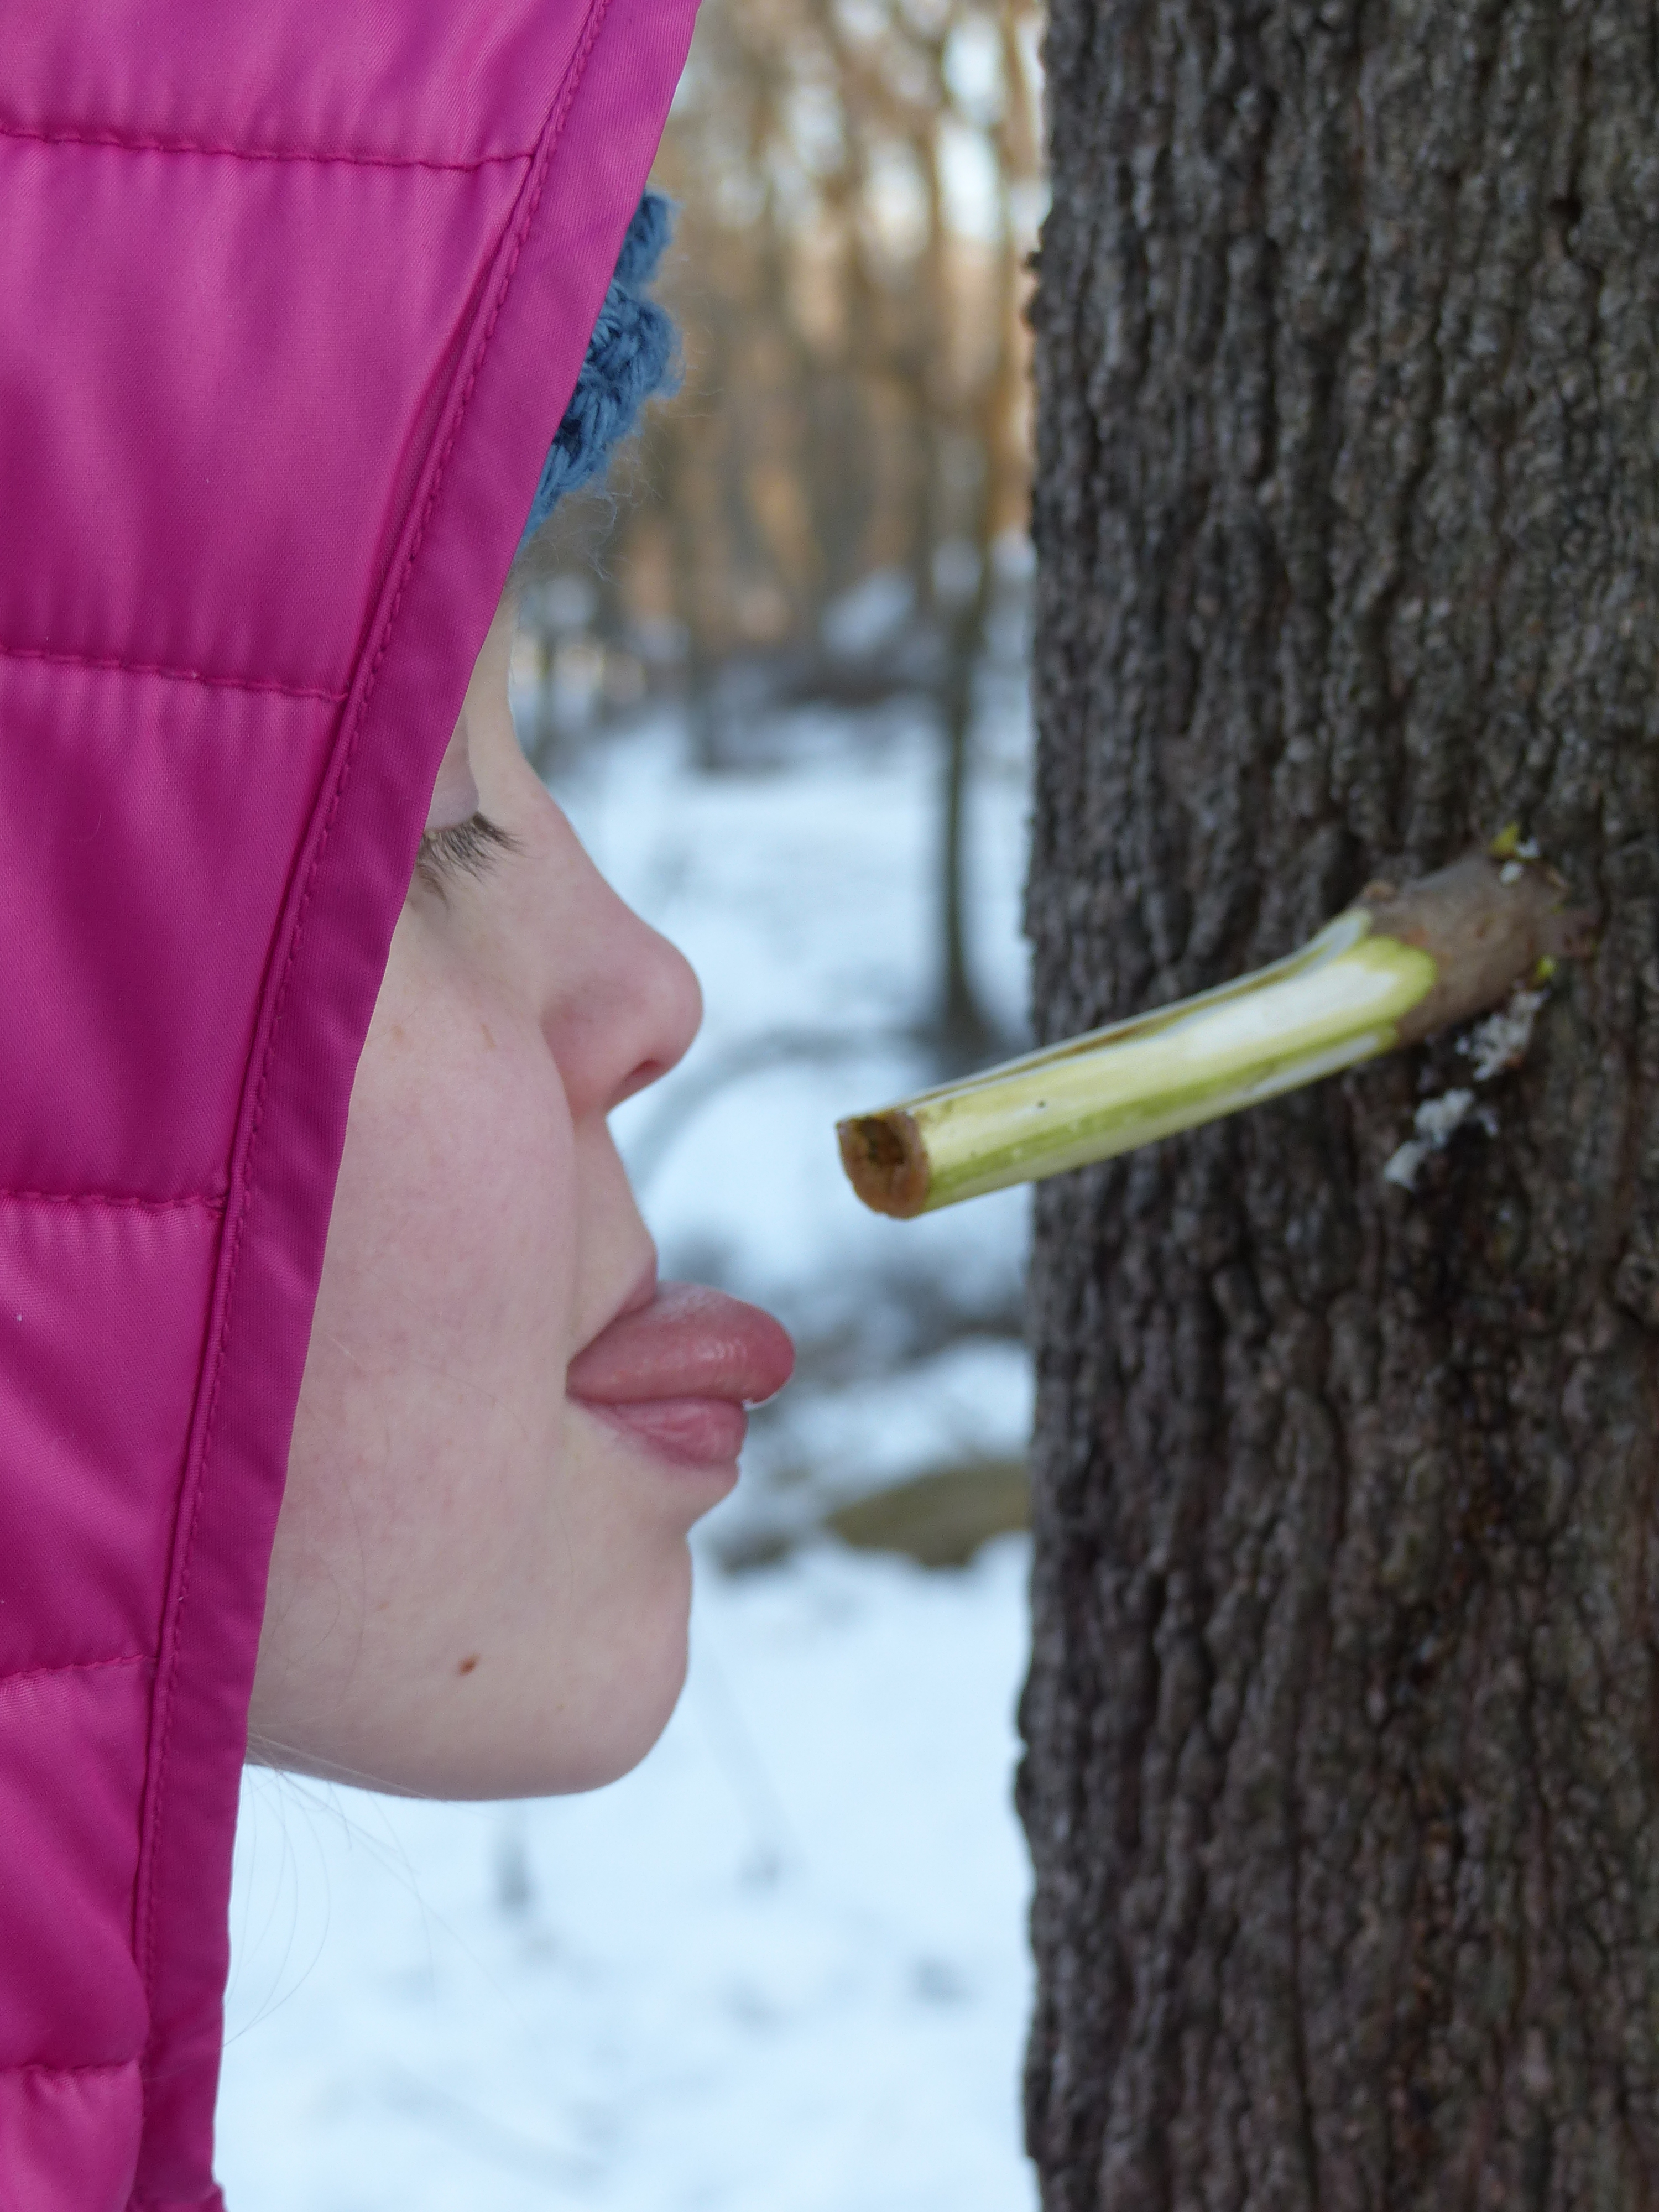
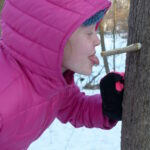
Tasting sap from a sumac spile
-
-
Syrupin’ time is upon us!
by Winding Pathways | Mar 18, 2021 | (Sub)Urban Homesteading, Birds, Garden/Yard, Nature, Trees/Shrubs
March is a pivot month. It’s neither winter nor spring. Often called “mud season”, March is maple syruping time, but it’s also birdhouse building month at Winding Pathways.
As humans in northern climates wade through mud and long for spring, millions of birds far to the south are planning their long migration north. A few hardy waterfowl arrive as soon as the ice melts from lakes and ponds, but most birds appear, as if by magic, in April and May. We make sure our birdhouses are up before they arrive.
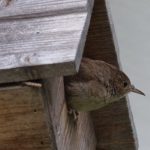
Looking out at the world.
House Wrens, Eastern Phoebes, American Robins, House Sparrows, and House Finches all nest on or near homes, barns, and garages. Although few people enjoy seeing messy House Sparrow nests tucked into nooks and crannies, most love hosting the native species as they raise the new generation outside the window.
Make Birdhouses
March is the best month to make birdhouses and restore older ones somewhat worse for the wear. Most are easy to build using simple carpentry tools. Better yet, birds aren’t fussy. Although the size of the house and the diameter of the entrance hole is important, the residents don’t care if the maker is an excellent carpenter or a novice. So, if the joints don’t fit perfectly it won’t bother birds!
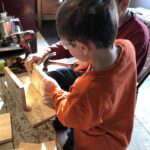
Helping children make birdhouses is a fun project that involves them in nature as they learn safe tool use and basic construction techniques.
We scrounge a nearby pallet pile for free wood. Often the discarded pallets are made from boards the right width for our houses. Relatively inexpensive pine, spruce, or fir work for people who prefer to buy wood.
-
-
Working with children to make a birdhouse is rewarding.
-

-
Children learn wood types, stages of building and how tools work.
-
-
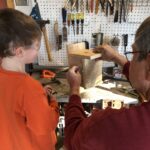
The birdhouse is nearly complete.
Great Resources to Guide Your Work
The best information source for virtually anything about wild birds is the Cornell University Laboratory of Ornithology. Their website gives great information on many aspects of birds, including what species likely live in an area. The site is complex but fascinating. A second website, also by the Lab, is more specific to birdhouses and nesting. The Laboratory of Ornithology site helps anyone predict what birds might migrate to their yard and when they’ll arrive. It also includes plans on how to build birdhouses. There’s even a video showing construction tips.
There’s more to birdhouses than just making one. They must be erected in the right place and height above the ground. The Lab’s website provides the right information. And, here are two tips from Winding Pathways.
Tips from Winding Pathways
- Many birdhouse plans to use nails as a hinge so the house can be opened for cleaning. We buy and use small hinges, hooks, and eyes to make opening the box to clean it easier.
- It’s tempting to attach a birdhouse to a tree using a nail or screw. That may work but eventually, the birdhouse falls off. But, the metal remains embedded in the tree. This creates danger as the tree grows around the metal, hiding it. Hitting a nail with a chainsaw is downright scary and dangerous. Also, driving a nail into a live tree can introduce diseases that could kill it. We use wire or rope to attach our birdhouses to live trees and use screws to attach birdhouses to nonliving posts and poles. One of our wren houses is suspended from a hook screwed into our porch ceiling.
Building birdhouses and enjoying a wren couple raises a brood is a fun family activity that we never tire of.