Huts
Kids love huts. Often they’ll spend hours scouring the neighborhood for enough sticks to build one and spend hours inside a hut’s comfortable embrace reading, texting, or just enjoying its privacy.
 Temporary huts are easy for a child and parent to build and take down. They are a sure way to encourage kids to spend more time outdoors. Our two children enjoyed many types of huts over the years. Here are some simple hut making suggestions:
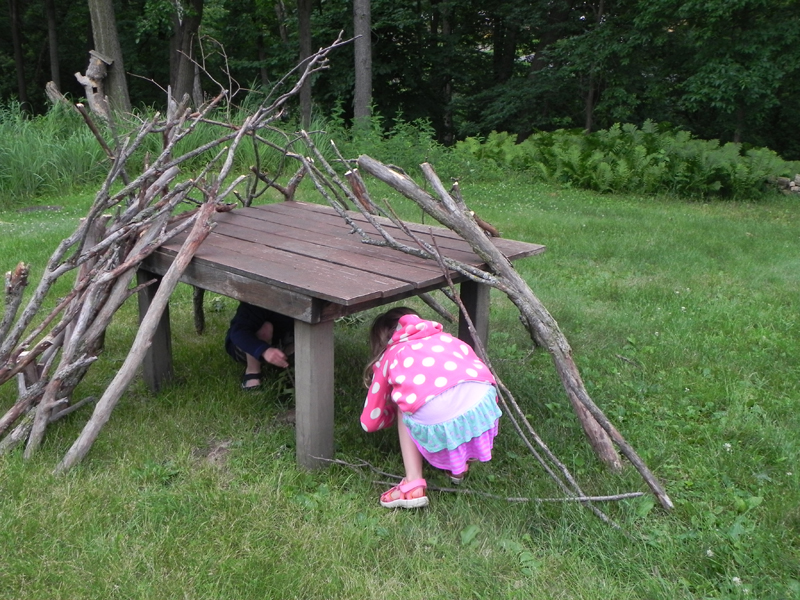
A LEAN TO: Making a Lean to is as simple as it sounds. Simply gather sticks three or four feet long and lean them at an angle against a wall, tree, fence or even picnic table. The hut won’t be water tight and will have lots of gaps between sticks, but kids love them. When it’s time to take the hut down the sticks make outstanding wood for a simple backyard camp fire.
A TARP TENT: Hardware stores sell blue or green tarps for a few bucks. Buy one at least six by eight feet. Stretch a rope about three feet above the ground horizontally between two trees, yard furniture, a fence or anything else convenient. Drape the tarp over the rope. Tie short pieces of rope to the corner grommets and pull the tarp until it forms a triangle. Tie the rope off to a bush, fence or yard chair. Anything handy will do. If there’s nothing convenient drive a section of stick into the ground and tie the tent to this peg. That’s it. The hut is ready.
A tarp tent will even shed rain, so kids can enjoy being outdoors during showers.
Even the tarp isn’t absolutely necessary. An old blanket or sheet will work fine but they are harder to attach to the ropes and won’t shed rain. A grommet substitute is to put a small stone an inch in from the corner, shape the fabric around it, and tie it off with a short section of rope. This end of the rope will hold the fabric. The other is attached to a peg or something in the yard.
A CARDBOARD BOX. A big cardboard box also makes a great, if very temporary, hut. Just use a knife to cut a door in the side. Kids play for hours in these make shift structures.
