by Winding Pathways | Jan 30, 2016 | Nature, Trees/Shrubs

Catalpas are tough trees that thrive in hostile environments. Their beautiful blooms attract pollinators.
We recently invited our neighbors to Winding Pathways for an evening of conversation. It was early winter and talk turned to trees.
“We have an odd tree growing in our yard. I have no idea what it is, but it has bit heart shaped leaves and later in the summer long beans dangle down from it,” said Patty a neighbor from down the street.
Her description was perfect. It was a Northern Catalpa. No other tree matches her observations.
Winter is a wonderful time to study trees. In midsummer their branch structure and twigs are usually invisible beneath leafy clothing. Not so in winter when buds, twigs, trunk, and branches can be easily seen. Often they yield clues revealing its species.
One of our favorite tree finding tools is on the Website of the National Arbor Day Foundation. Click on the “tree” tab and a simple identification guide pops up like magic on the computer screen. The Arbor Day Foundation also sells dozens of tree species at reasonable prices and a visit to Arbor Day farm in Nebraska City, Nebraska is memorable. It’s just south of Omaha and is where J. Sterling Morton founded Arbor Day.
by Winding Pathways | Sep 12, 2015 | Mammals, Nature, Pests, Trees/Shrubs
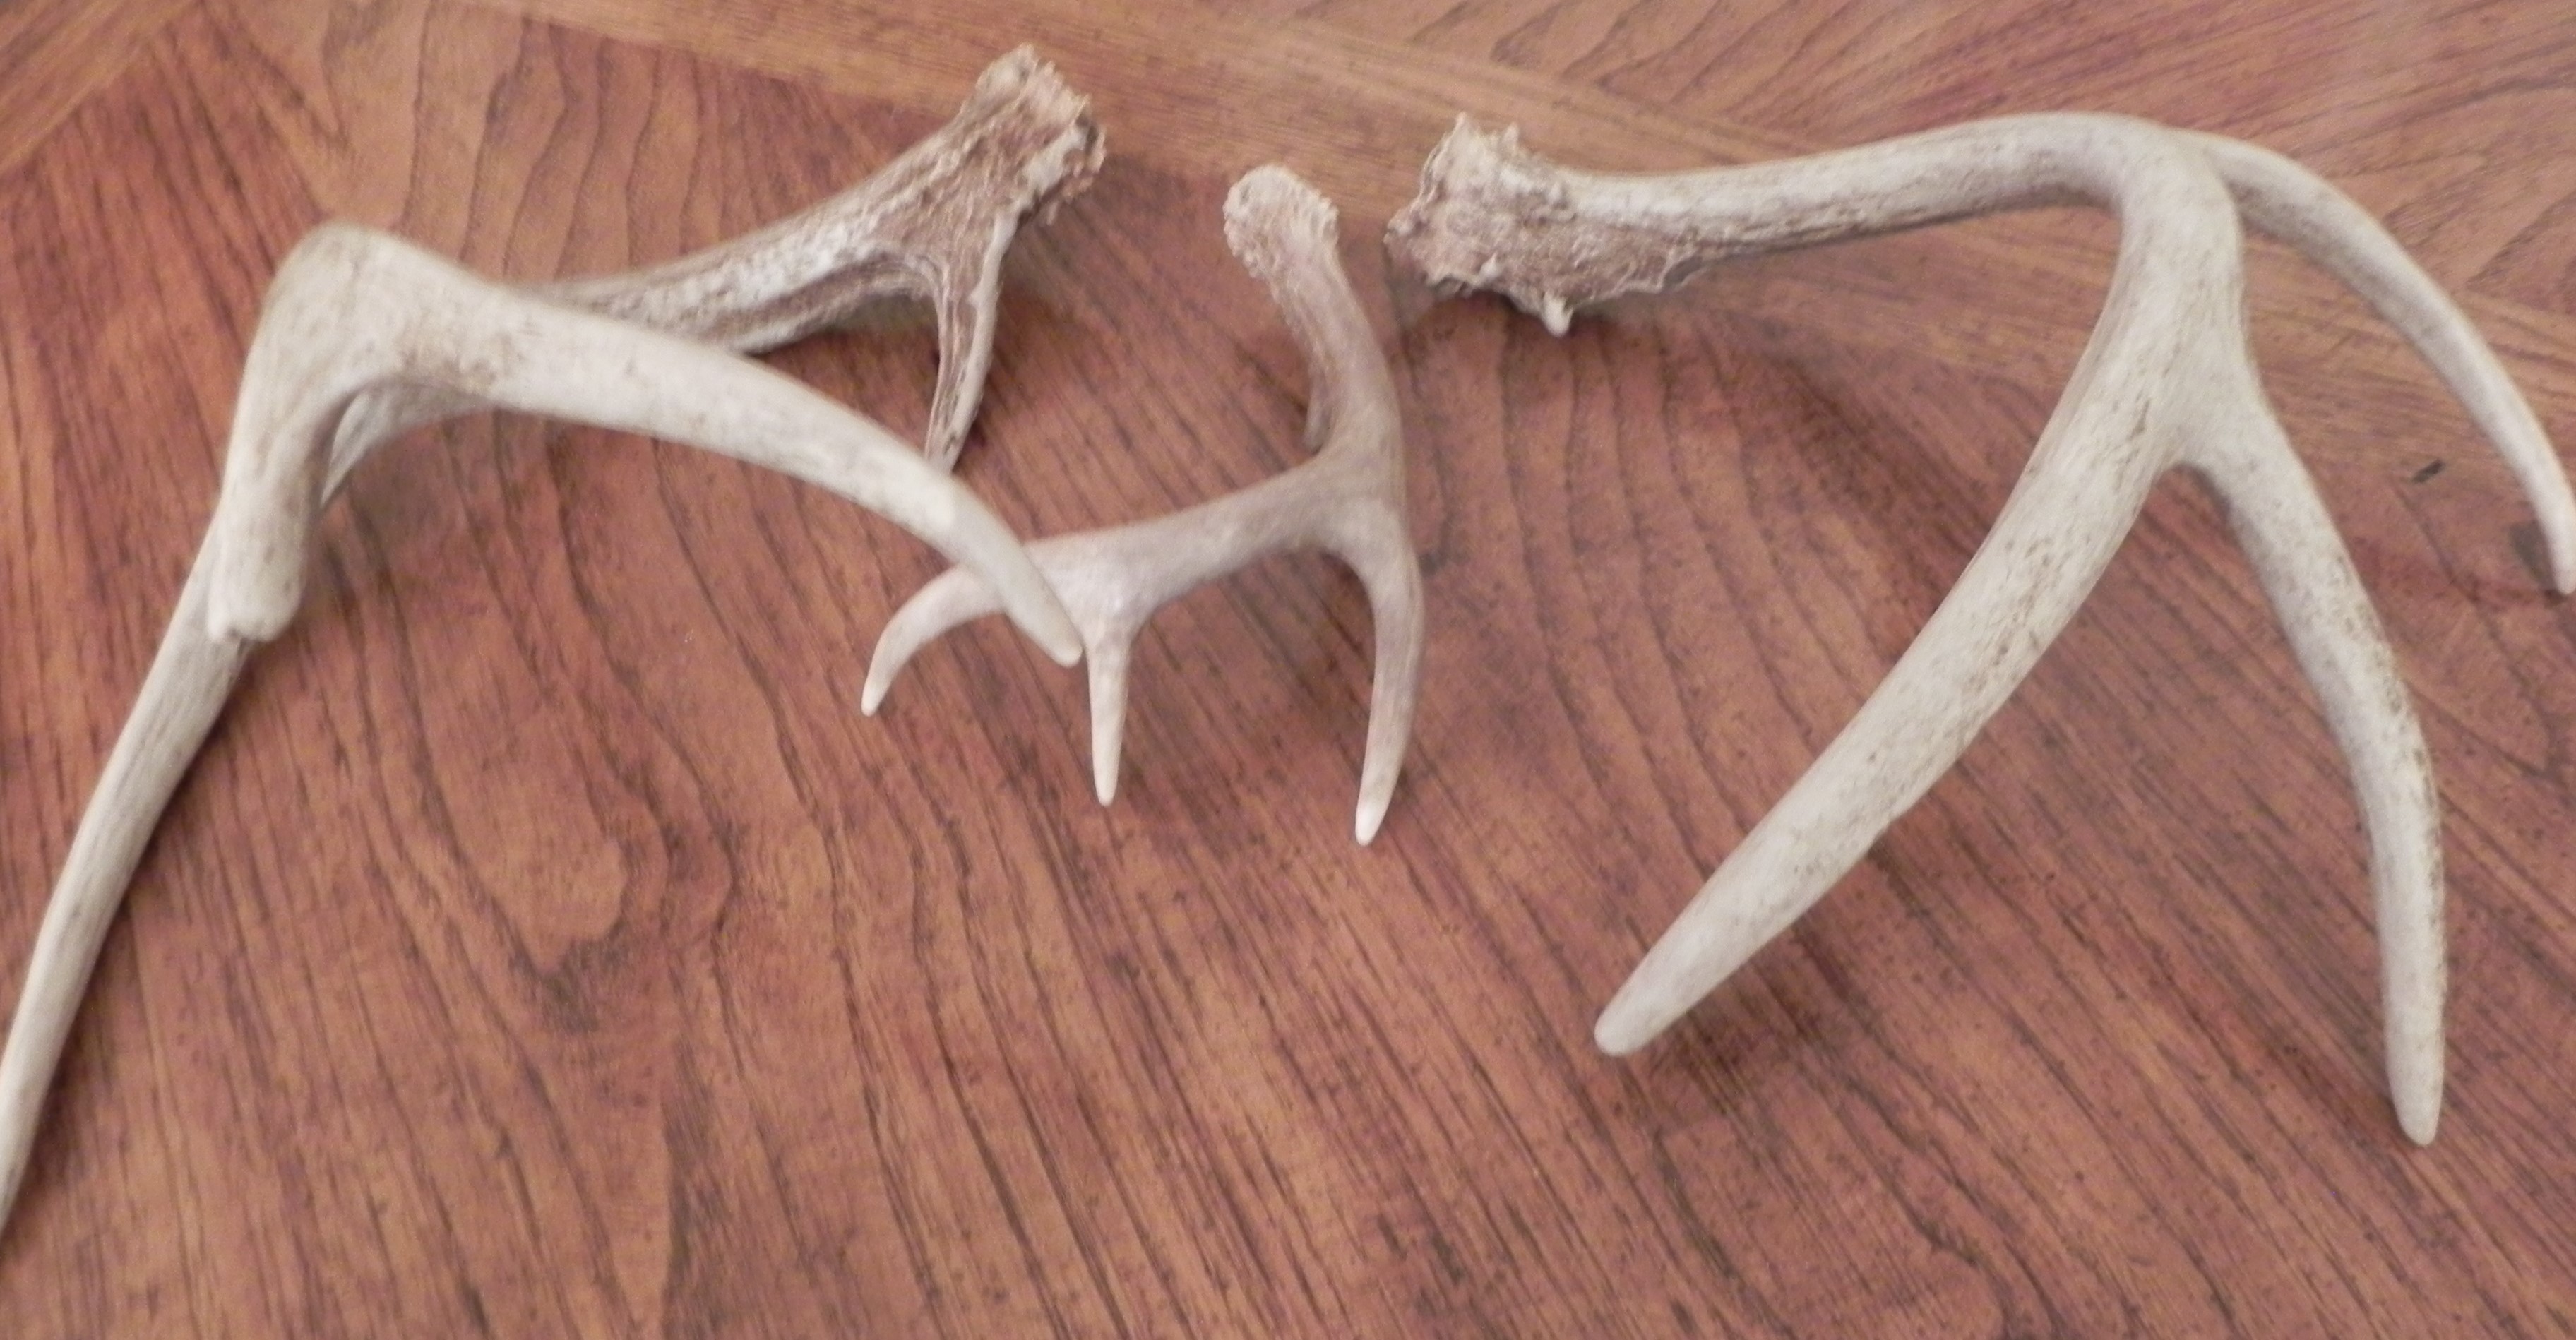
A pair of winter sheds all polished.
One year at Winding Pathways we planted a few trees and tended them all summer. They were doing great until one September night. A buck deer decided that our new trees were perfect for rubbing off the velvet that covered his newly formed antlers. Just a few minutes of determined rubbing killed our precious trees!
Deer antlers start growing in early spring and by late August are fully formed. Velvet on the outside of the growing antlers is rich with blood and minerals. By September its purpose is done. Bucks rub the velvet off to prepare their antlers for battle with rivals when the mating season starts in November.
Deer have the uncanny knack of rubbing the most valued trees in a yard, and often they remove all the bark, thus killing the tree.
Fortunately, damage is easy to prevent. Just drive fence posts into the ground a few feet out from the tree and attach wire mesh to them to physically keep deer away. Plastic tree guards that attach directly to the trunk also help prevent damage.
Do this now before the deer start to rub. Or you may lose all your new trees in just one night.
by Winding Pathways | Jul 6, 2015 | Nature, Trees/Shrubs
Each summer a small tree in our yard produces more delicious cherries than we can harvest and eat.
Tart cherries are outstanding yard trees. They are small, attractive, need little care and begin bearing fruit when only a couple of years old. Trees self-fertile, meaning it’s not necessary to plant two or more for cross pollination. Few insects or diseases bother them but sometimes birds, especially robins, take a fancy to the bright red fruit. Birds prefer mulberries to cherries so we keep a mulberry in the yard as our decoy tree to keep birds from filching cherries.
Commercial nurseries sell two general types of domestic cherry trees-sweet and sour (sometimes called tart or pie cherries). Sweet cherries don’t like subzero winters and are best grown in places warmer than our Iowa yard. The fruit is commonly sold in grocery stores and is delicious fresh. Most varieties need a second tree for cross pollination. In contrast tart cherries don’t seem to mind occasional 25 below zero temperatures and thrive in the north. Rarely sold fresh in stores, tart cherries can usually only be purchased canned. To enjoy delicious fresh tart cherries grow your own.
Two common tart cherry varieties we like are Montmorency and Dwarf North Star. Both produce tasty fruit. Sometimes the fruits are sweet enough to eat right off the tree. But usually their tartness makes them best when used in pies, cobblers, and other baked goods. We like them in our morning oatmeal.
The downside of cherries is the time it takes to pick and pit the small fruits. It can be tedious. Dwarf trees reduce or eliminate the need for ladders, making picking safe, fast and easy. We used to hand pit the fruits using fingers to squeeze the large seed out of each cherry. After a few years of this slow process we bought a cherry pitting device that speeds and eases the process, but it still takes time.
Pitted cherries freeze well. Put a big handful in a plastic freezer bag, squeeze out the air, seal the bag and put it in the freezer to retrieve months later when the urge for cherry pie arises.
by Winding Pathways | Jun 21, 2015 | Chickens, Garden/Yard, Nature, Trees/Shrubs
As we welcome summer we also begin to indulge in Iowa’s natural harvest of berries and cherries. Mulberries must be ripe because purple colored bird droppings mark lawns and sidewalks. Scat from raccoons and coyotes are full of seeds. Mulberries are great to eat out of hand and we get great laughs from the purple tongues and fingers that result from our munching them.
Black Raspberries, or “Black caps”, are ripening. Red raspberries big as your thumb fall into your hands and cherries hang tantalizingly just beyond reach on the most slender branches. If the weather stays warm but moist, we will have excellent blackberries come mid-July into August.
Squirrels and birds naturally have an advantage over humans and our chickens make sure that they clean up any cherries that escape the squirrels. But we are out with the best of them harvesting the fruits of an Iowa summer, indulging in fresh berries by the handful and freezing some for winter.
Take time to walk a trail and have fun with summer’s bounty.
by Winding Pathways | Mar 5, 2015 | (Sub)Urban Homesteading, Foraging, Nature, Trees/Shrubs

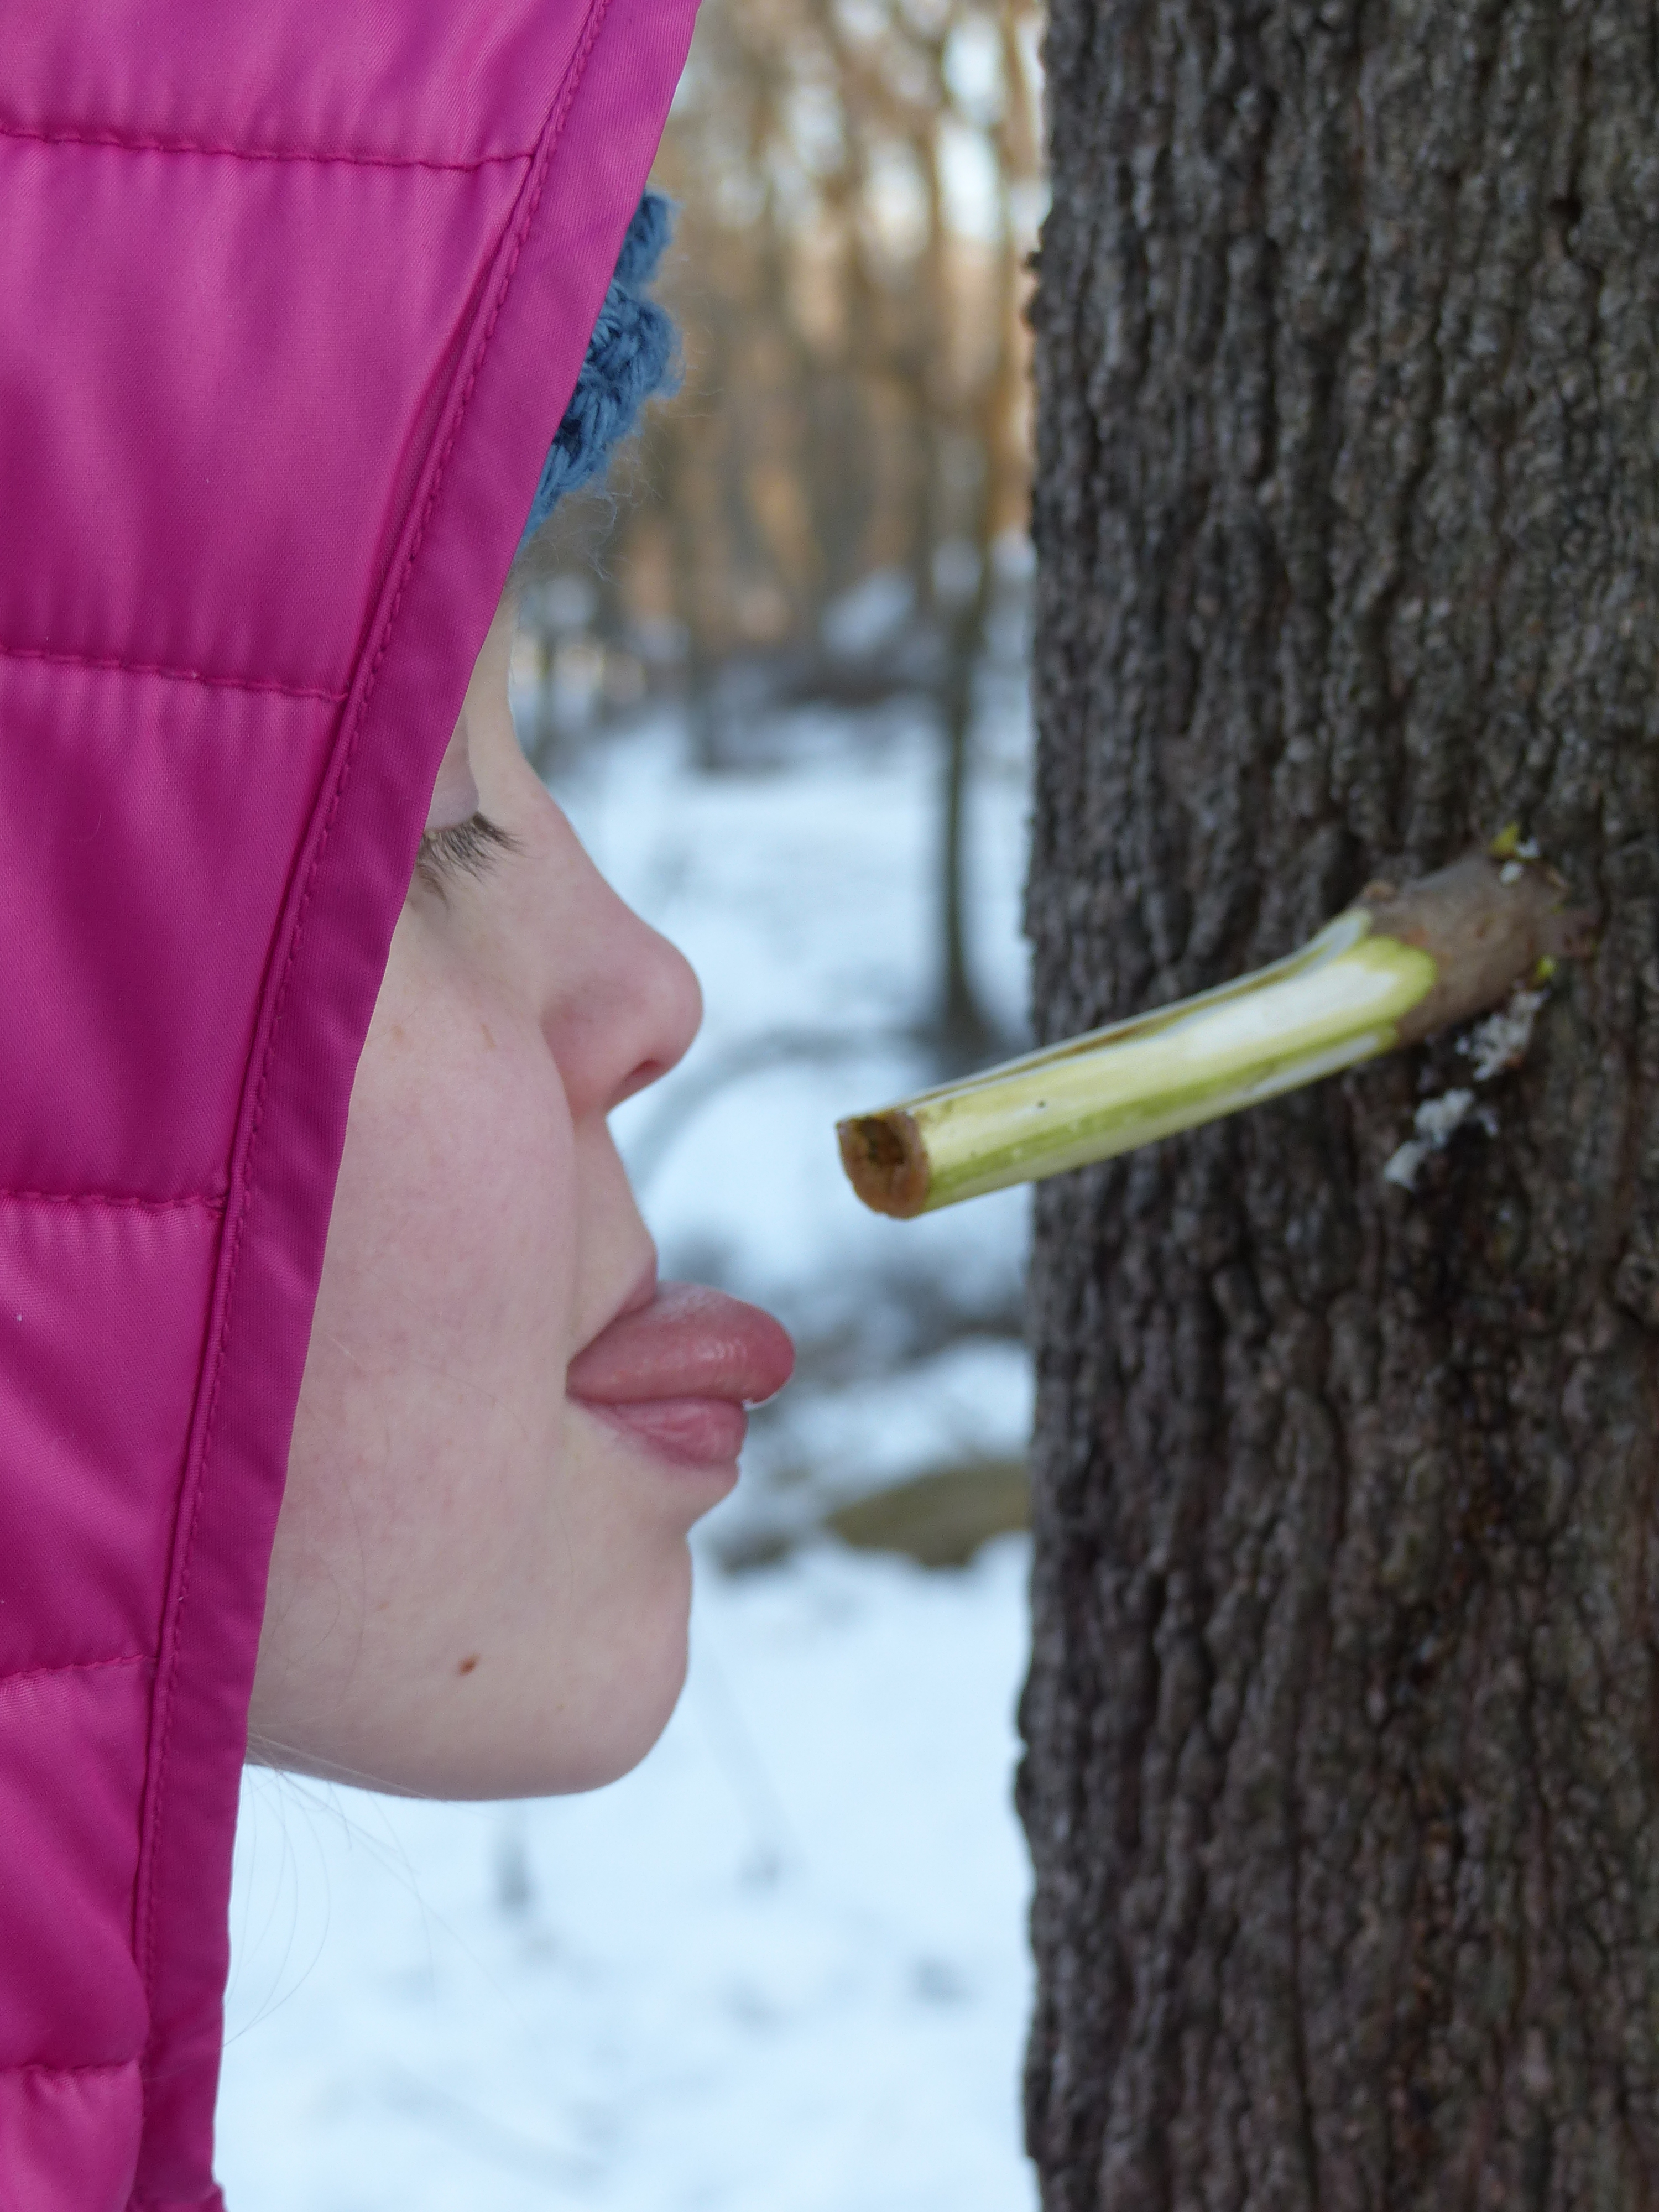
Waiting for a drop of sap.
Maple syruping is captivating. Perhaps because the process is fascinating, it’s one of the first signs of spring or it conjures up childhood memories reading books about syruping or seeing old Currier and Ives prints of Native Americans or hearty pioneers sugaring off.
Alhough it’s a historic process, tapping trees and making syrup is a fun family activity and a great way to pique childhood curiosity about history and science. Syruping is a blend of botany, weather, science, history and all topped off with delicious eating.
Native Americans invented maple syruping long ago. Before honeybees were imported from Europe and sugar became a trade item maple syrup was THE ONLY sweetener they had. Typically Native Americans made maple sugar by slicing the bark of trees in late winter, catching what sap they could in bark or wooden containers and boiling the sap in large, hollowed out wooden containers by dropping fire-heated rocks into the liquid. They used this cumbersome method because until Europeans arrived they didn’t have metal. Syruping was plenty of work.
When Europeans settled along the Atlantic coast they quickly developed a taste for maple and supplied Natives with metal buckets, pans, axes and spiles that enabled them and European settlers to make syrup efficiently. It was the main American sweetener until a cane sugar tariff was lifted in the late 1800’s. Today maple syrup is a delicious, but expensive, luxury.
Modern producers use plastic tubes to channel sap from their sugarbush (maple grove) to their sugarhouse, where it’s processed into syrup by eliminating water in ultra-modern reverse osmosis machines followed by some boiling. It’s an efficient, but not nostalgic, process.
Making syrup from a backyard tree using old methods is fascinating fun. It’s now late winter. Soon days will be above freezing and sap will flow. Syruping season is upon us. Assuming there’s a maple tree in the yard most families have many of the items they need to make a small batch of syrup. Here’s how:
What you need: It’s simple. You need a maple tree or two of any species. Sugar, black, silver, red and European maples produce sweet sap. Even common box elders, which are true maples in disguise, yield sap that makes delicious syrup. The tree needs to be at least 10” in diameter but bigger ones are better. Other needs are:
• A drill and bit to create a 7/16th or ½ inch diameter hole three inches deep into the tree.
• A homemade or purchased spout, or “spile” as it’s called in syruping country.
• A container to catch sap. Plastic milk jugs work!
• A container to collect and store sap.
• A way to boil off about 40 gallons of water to make one gallon of syrup.
Where can syrup be made: Although New England, Canada and the Lake States are traditional syruping regions it can be made anywhere maples grow and the right weather conditions occur. Syruping is possible from Alabama to North Dakota, east to the Atlantic, and even from street trees in western towns.
When are trees tapped: Maples drip sap only when nights are below freezing followed by daytime temperatures above 32 degrees. Ideal conditions are several days in a row with clear, cold frosty nights followed by sunny warm days. Traditionally syruping starts around March first in the north but can be earlier down south. The season ends when sap stops dripping as night temperatures remain above freezing. The sap flow can be as short as four or five days or as long as six weeks. It all depends on the weather.
How to tap a tree: In late winter, just before warm days are expected, gather a drill, bucket and child and tap your backyard tree. If done properly it does no harm to the tree. A young 10” diameter maple is good for just one tap, but a 30” diameter veteran can support up to three taps. Use either an electric drill or be traditional and use a carpenter’s brace and bit. Drill at a slight upward angle two to three inches into the tree. A short piece of wire can be bent into a hook to drag wood chips out of the hole. Tap in the spout, or spile, and attach the bucket or milk jug to catch sap. If the weather is perfect sap will flow as soon as the drill passes through the bark.
Spiles and collection supplies can be purchased but here’s how to make your own:
Step One: Find a patch of sumac. These common shrubs often grow along roads. Cut off a three foot section about a half inch in diameter with pruning shears. Then cut it into pieces about four inches long. Sumac has thick soft pith. Either poke it out with a piece of stiff wire or drill it out to create a tube. Taper the end that will go into the hole in the tree by whittling with a pocket knife. Gently tap your spile into the hole.
Step Two: Use the pocket knife to cut a small hole in the neck of a clean gallon milk jug just above the handle. Slip the hole over the end of the spile. If you’ve done it right the jug will stay in place and is strong enough to hold a gallon of sap without pulling out of the tree.
If the weather’s right the jug will fill in just a couple of hours. Empty the sap into a storage container. It’s best to begin boiling right away but cold sap will keep a few days. But, there are other uses for maple sap than boiling into syrup. Fill a teacup with boiling sap instead of water and add a tea bag. The delicious beverage will have a hint of maple flavor. Some people drink sap as a spring tonic.
Step Three: Now comes processing. Nothing is added to sap to create syrup but about 40 parts of water must be evaporated to make one part syrup. It can be boiled in a saucepan over the kitchen stove, but that puts lots of sticky steam into the house. Boiling is best done outdoors over a wood fire or propane burner. Large shallow pans help speed boiling. Boil for several hours. The syrup is ready to eat when:
• It is golden colored with delicious sweetness.
• It slowly dribbles off a spoon dunked in hot syrup and suspended over the pan.
• It boils at seven degrees Fahrenheit hotter than boiling water.
Serious sugarmakers use more precise ways to tell when their syrup is done but these simple tests work for a small quantity. Finished syrup has sediment at the bottom of the container that looks like fine sand. It’s mostly calcium that’s perfectly fine to eat, but it can be filtered through cheese cloth to remove it. Refrigerate your precious syrup to prevent spoilage.
Commonly asked syruping questions:
Q. Will it hurt the tree? A. Only if the tree is overtapped. Only drill one hole in a 10” diameter tree. Up to three or four taps are fine in a massive maple.
Q. Do I plug the hole in the tree at the end of the season? A. Nope. Just pull out the spile. The tree will heal itself.
Q. How much syrup will one small tree with one tap produce? A. It all depends on the weather. During a long season a small tree could yield up to a half gallon of syrup, but during a short season it might yield only a cup or two. The long term average is about one quart of syrup per tap.
Sources of Syruping Equipment and Information
Simply Google Maple Syruping and the computer’s screen will be filled with places to buy equipment and information on how to tap trees and make syrup. One of our favorite sites is Tap My Trees.
Winding Pathways urges people to go outside and have fun. Few backyard activities are as fun as making a batch of maple syrup from your own tree.